Cum să instalați Forge pe computer folosind CurseForge sau MultiMC – KnowledgeBase – ShockByte, Cum să instalați Forge pe un server Minecraft – KnowledgeBase – BiseCthosting
Cum se instalează Forge pe un server Minecraft
Cum se instalează Forge pe un server Minecraft (manual)
1. Descarca Forja.
Cum să instalați Forge pe computer folosind CurseForge sau MultiMC
Este posibil să instalați Forge și să construiți o experiență Minecraft modificată personalizat pentru dvs. și prietenii dvs. folosind CurseForge sau MultiMC.
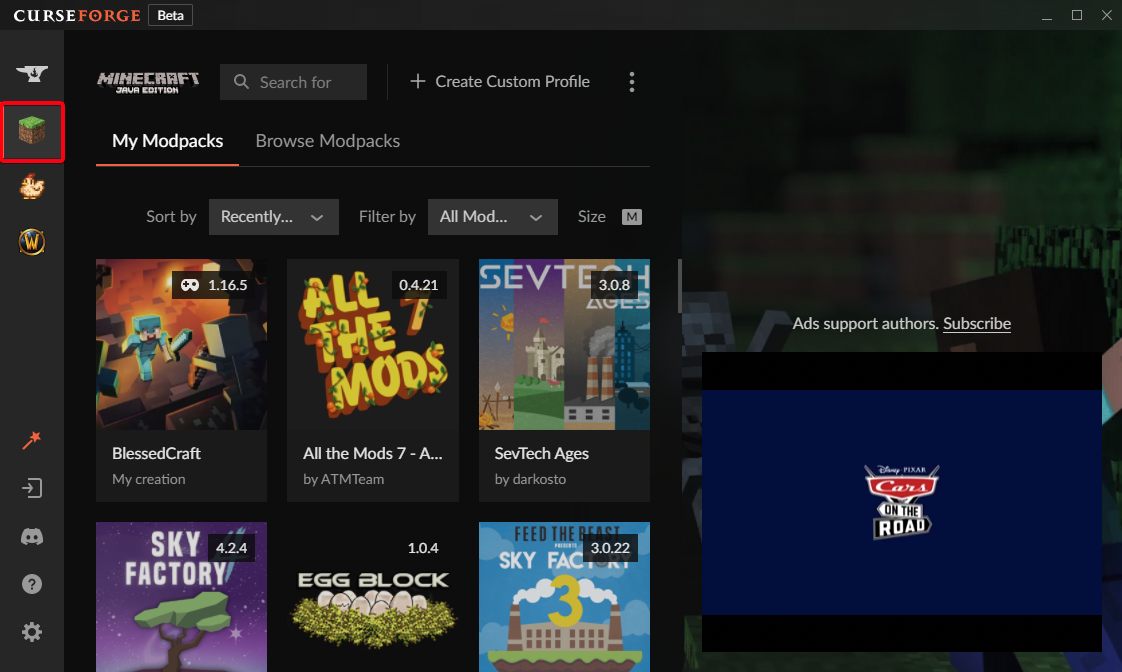
Instalarea Forge cu CurseForge
Forge poate fi instalat cu ușurință prin crearea unui profil personalizat pe CurseForge Launcher.
- Deschideți CurseForge și selectați Minecraft.

- Clic Creați profil personalizat.

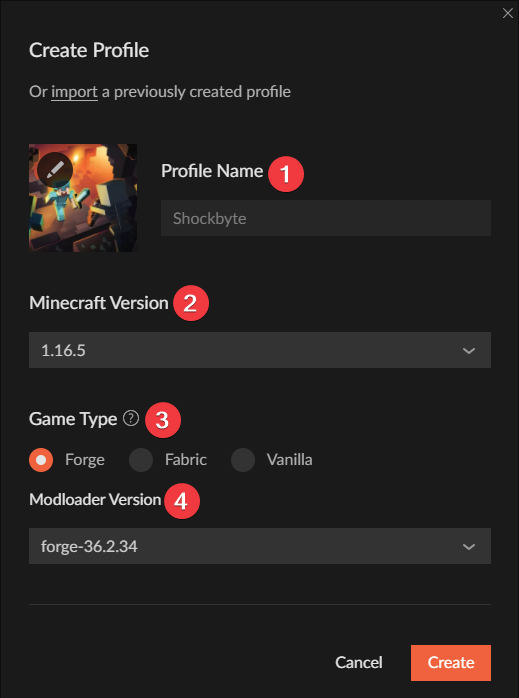
- Introduceți următoarele;
- Nume profil = un nume pentru profilul dvs. personalizat.
- Versiune Minecraft = Alegeți versiunea Minecraft pe care doriți să o jucați.
- Tip de joc = Forja
- Versiunea ModLoader = Alegeți versiunea Forge care este compatibilă cu modurile dvs. (dacă nu sunteți sigur, plecați la opțiunea implicită).

- Clic Crea.
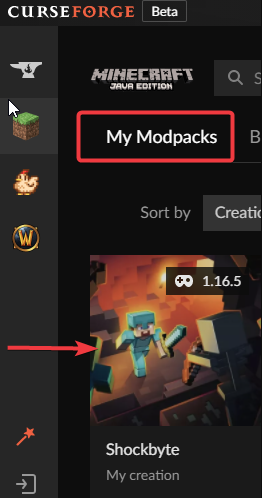
- Clic Modpack -urile mele Apoi selectați profilul dvs. personalizat.

După ce ați configurat profilul personalizat, acum puteți adăuga moduri. Puteți găsi un articol despre instalarea modurilor Forge aici.
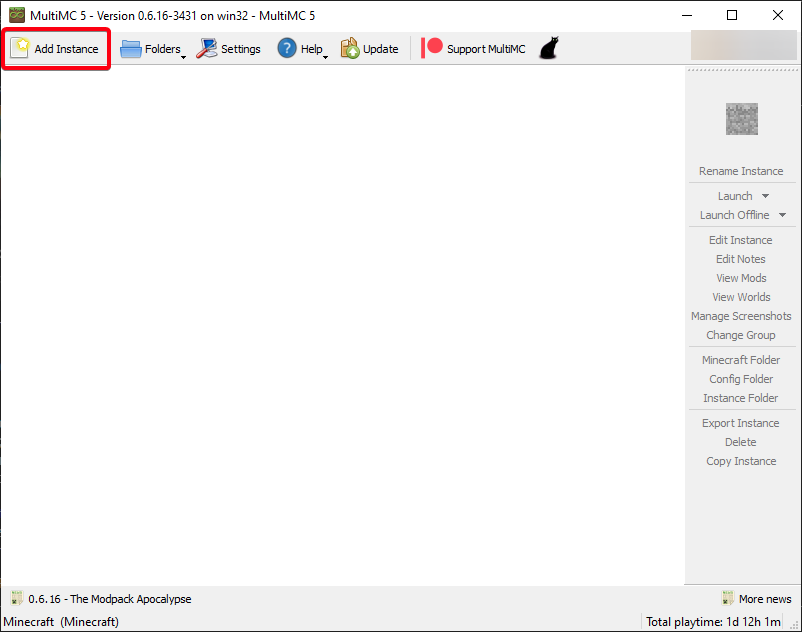
Instalarea forjei cu multimc
Un alt mare lansator care poate fi folosit pentru instalarea Forge este multimc. Forge poate fi instalat prin adăugarea unei instanțe personalizate.
- Deschideți multimc.
- Clic Adăugați instanță.

- Introduceți următoarele;
- Nume = un nume pentru instanța dvs.
- Versiune = Alegeți versiunea Minecraft pe care doriți să o jucați.

- Clic Bine.
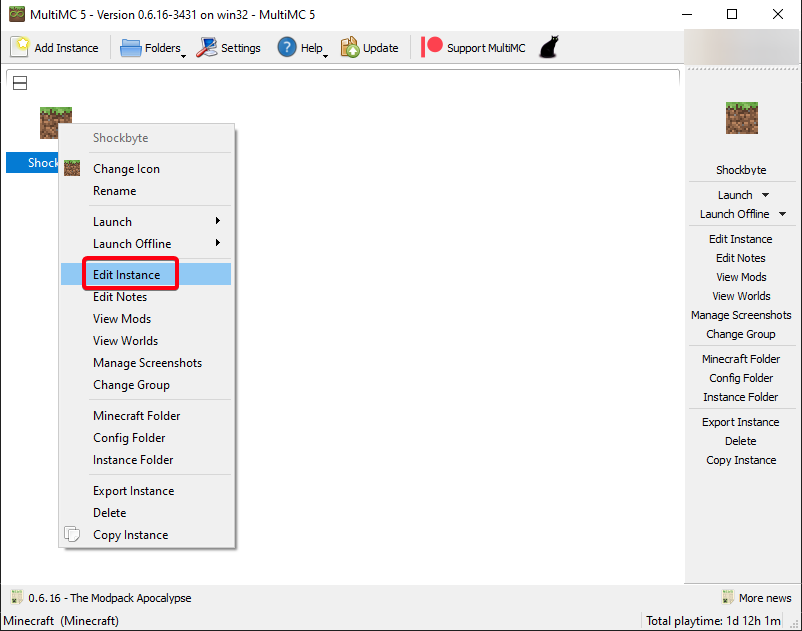
- Faceți clic dreapta pe instanța dvs. și selectați Editați instanța.

- Clic Instalați Forge, Selectați o versiune Forge pentru instalare și faceți clic pe Bine.

Pentru a instala țesătură pe computer folosind CurseForge și MultiMC, puteți găsi articolul nostru de cunoștințe aici.
Dacă aveți nevoie de asistență suplimentară, vă rugăm să contactați asistența noastră la: https: // Shockbyte.com/facturare/submiticket.PHP

Mitchell Smith
Directorul general @ ShockByte
Cum se instalează Forge pe un server Minecraft

rezumat
Forge este o platformă de modding pentru popularul joc video Minecraft . Permite jucătorilor să instaleze moduri personalizate care pot adăuga noi funcții, mecanici de joc sau conținut la joc. Forge oferă dezvoltatorilor instrumente și API -uri pentru a modifica activele Minecraft. Forge are o comunitate mare și activă de dezvoltatori de moduri care creează și împărtășesc mod -uri pe site -uri web precum CurseForge.
| Notă | Accesul la instalarea Forge prin meniul JAR este limitat la servere premium sau servere bugetare cu Advanced Support Addon. În mod alternativ, Forge poate fi instalat manual urmând ghidul prevăzut mai jos. |
| Notă | Serverul trebuie să pornească complet o dată pentru a genera fișiere și foldere de configurare. |
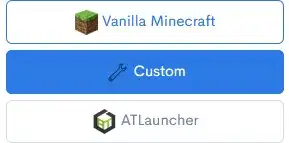
Cum se instalează Forge pe un server Minecraft (meniul jar)
1. Conectați -vă la panoul de primă sau buget de bisecthosting.

2. Stop server-ul.

3. Alegeți albastrul Deschideți meniul Jar buton.
4. Selectați Forja la stânga.

5. Comutați butonul de lângă Forja. Forge pentru versiunea 1 Minecraft.19.4 este utilizat în acest exemplu.
6. Alege Ce să faci cu fișierele de server existente.

7. Porniți serverul.
Cum se instalează Forge pe un server Minecraft (manual)
1. Descarca Forja.
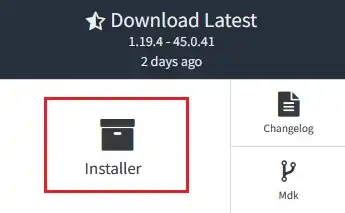
2. Alegeți o versiune și selectați Instalator.
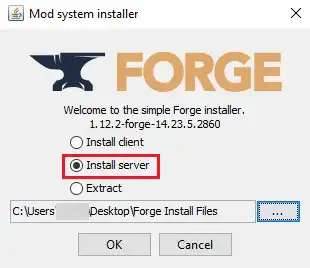
3. Lansa instalatorul Forge și selectați Instalați serverul.
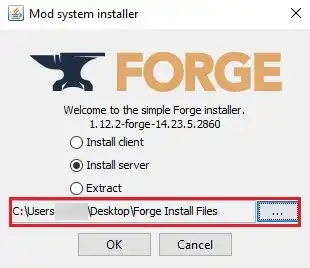
4. Schimba Instalați locația la un folder de pe desktop.
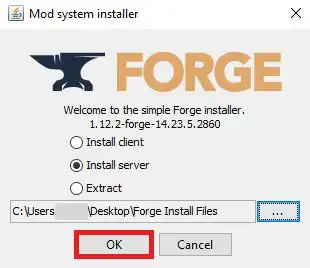
5. Clic Bine.
6. Odată terminat, navigați la folderul de pe desktop.
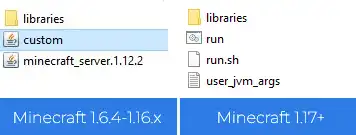
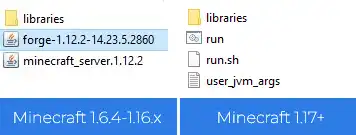
7. Pentru Forge pentru Minecraft 1.6.4-1.16.X, Redenumire forge- [versiune].Jar to Custom.borcan .
Pentru Forge pentru Minecraft 1.17 Si mai sus, ocolire acest pas.
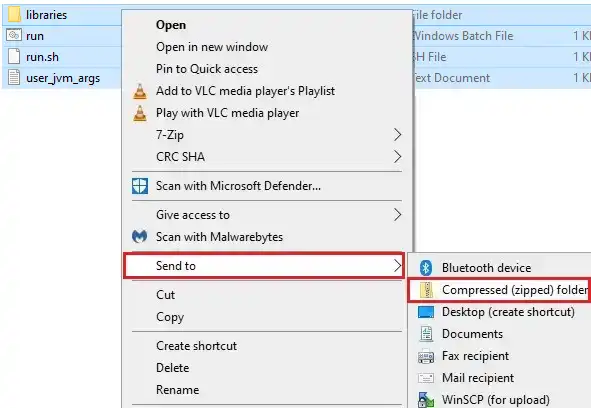
8. Selectați toate fișierele. Faceți clic dreapta și alegeți Trimiteți în folderul> comprimat (cu fermoar). 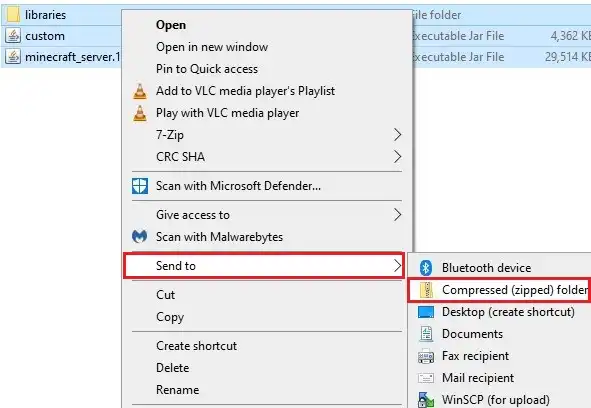
9. Minimizați fișierul pentru a fi utilizat mai târziu în tutorial.
10. Conectați -vă la panoul bugetar BiseCthosting.
11. Stop server-ul.
12. Alegeți albastrul Deschideți meniul Jar buton.
13. Selectați Personalizat la stânga.
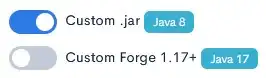
14. Pentru Forge pentru Minecraft 1.6.4-1.16.X, comutați butonul de lângă Personalizat.borcan.
Pentru Forge pentru Minecraft 1.17 și mai sus, alegeți Forge personalizat 1.17+.
15. Alege Ce să faci cu fișierele de server existente.
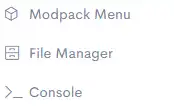
16. Mergeți la Manager de fișiere Fila din stânga.

17. Alegeți verde Încărcați buton.

18. Tragere și plasare .fișier zip de la pasul 9.
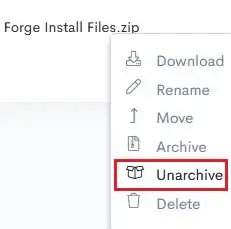
19. Faceți clic dreapta pe .fișier zip și alegeți Nearchiv.

20. Confirmați alegând Green Nearchiv buton.
21. start server-ul.
